Most e-visa rejections are not about eligibility. They are about files. The photo is the file people rush, and e-visa photo requirements are exact enough that a casual selfie fails them. The Visa Photo Maker turns those requirements into a frame you drag your photo into. Here are 6 ways to use it before you apply.
1. Start from the destination, not the photo
Pick the preset first. A US visa photo is 51x51 mm; a Schengen photo is 35x45 mm at 413 x 531 px at 300 DPI; China wants 33x48 mm. One photo cropped three ways is three different files, and only one of them matches the application in front of you. The requirements behind each preset are spelled out in our photo requirements guide.
2. Fix the background before you reshoot
If the wall behind you is the wrong shade, use the maker's whiten background step instead of booking a studio. Specs ask for a light grey or white background, and the editor works on the photo you already have.
3. Use the guide marks, not your eye
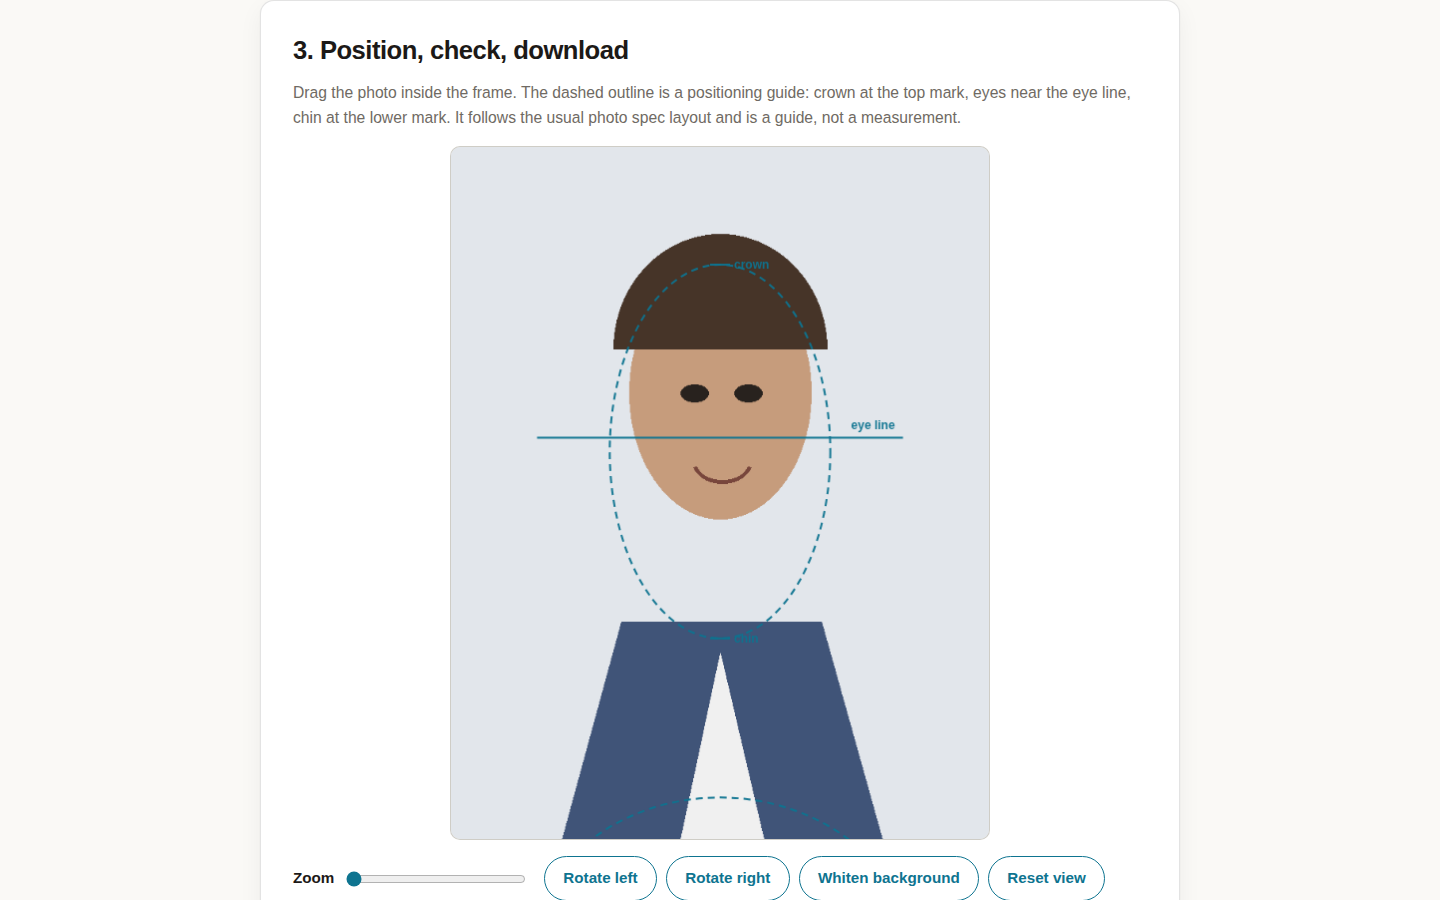
The dashed outline is a positioning guide: crown at the top mark, eyes near the eye line, chin at the lower mark. It follows the usual photo spec layout. Zoom and drag until your head sits in the outline the way the spec draws it, not the way it looks nice.
4. Run the guidance checks, then read the fine print
The maker samples the edges and the light inside the frame and gives plain verdicts on size, background and brightness. It cannot judge shadows, glasses glare, head covering rules or expression rules, and it says so. Treat a pass as "worth submitting", then confirm the details against the official list: for US visas, the State Department photo page. Our post on validity versus stay duration is the other fine print worth reading before you pay the fee.
5. Print the sheet if a paper form is coming
Some applications still end at a counter. The maker exports a print sheet with 6 copies on a 4x6 in sheet, so one print run covers the application, the backup copy, and the inevitable lost one. The rest of the paper trail is in the documents checklist for 190+ countries.
6. Make one photo per application, on the day
Do not recycle last year's photo across this year's applications. Make a fresh one per filing, keep the file with that application's documents, and track the application itself with the help of our tracker apps guide. Preparing for the interview or the trip after approval is a different checklist: the Visa Interview Simulator at GlobalStudyConsulting rehearses student visa answers, and Layover Gauntlet at EVisaPreparation tests whether your route needs a transit visa.
The photo takes two minutes when it is a step, and two weeks when it is a rejection. Make yours with the Photo Maker before you start the form, and if you only need the short version of the tool, it is in our explainer post.